| |
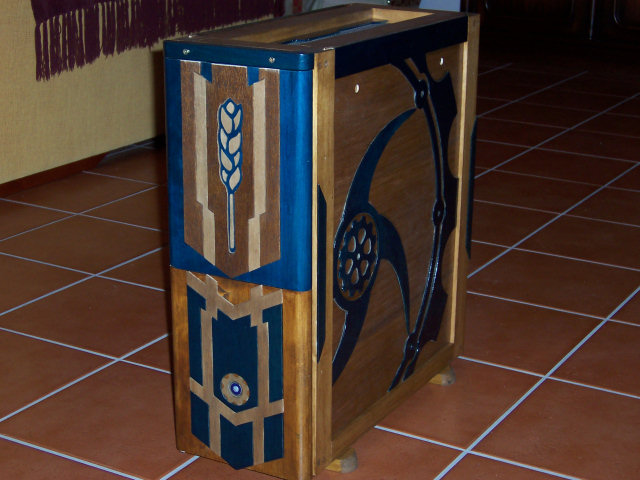
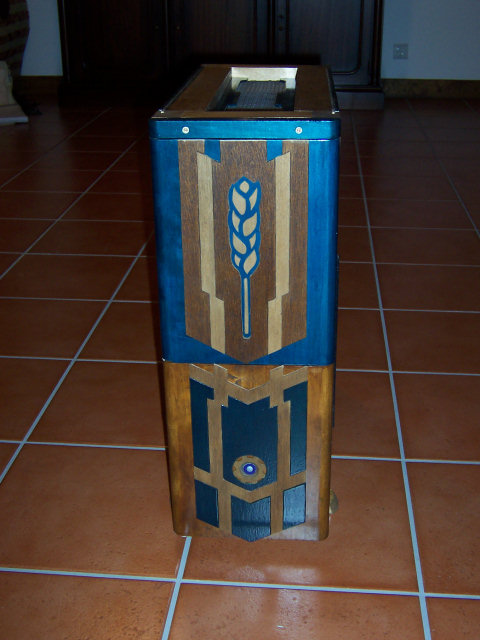
The doors where supposed to be as shown in the previous images, but when I began to glue the pieces, to assure them to be properly centered, I decided to resort to the cuts surpluses and when I put the surpluses, I thought that using these surpluses would look better. This is the result: |
| |
|
| |
|
| |
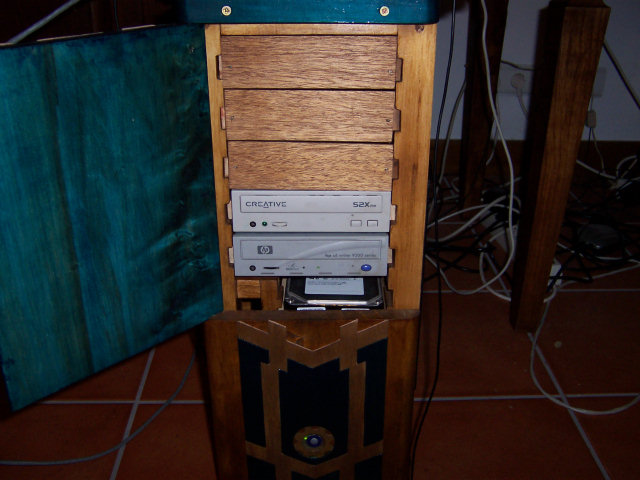
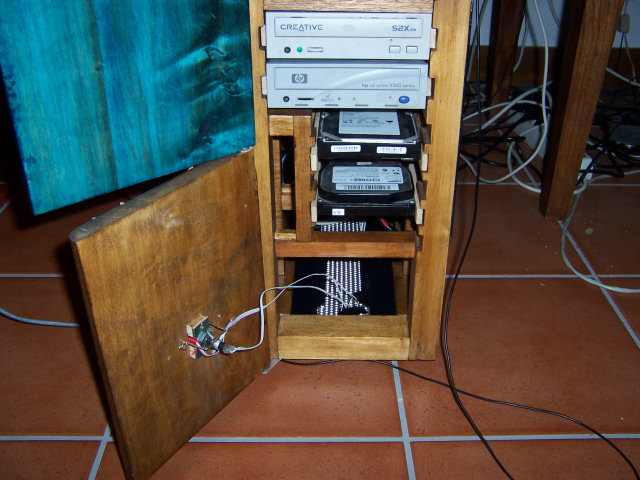
Now some images with the doors open, You can notice my archaic power-on system. |
| |
|
| |
|
| |
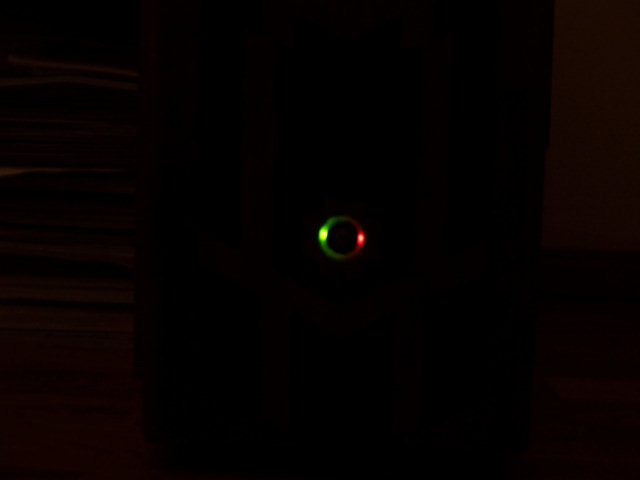
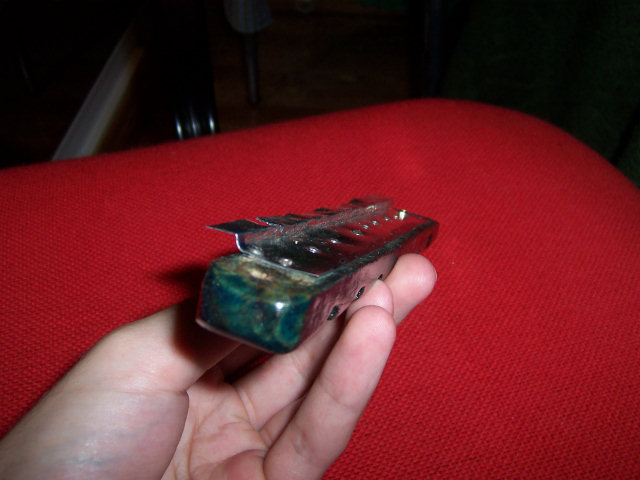
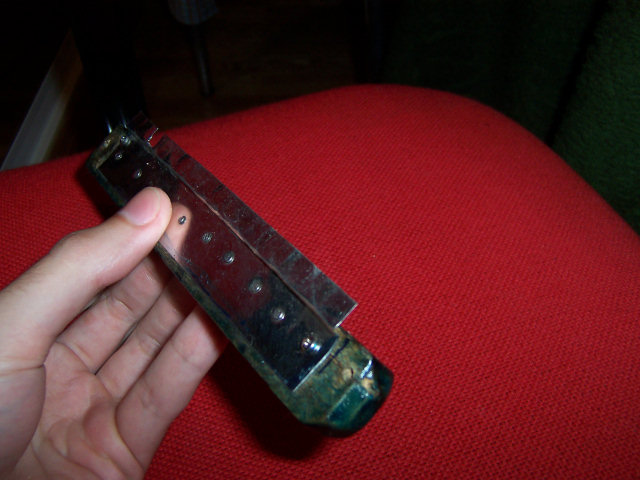
Here it is a picture of the power button in the darkness, the only light my case has, although I have in mind to apply more illumination. The button consists of a wood slice with transparent hose arround, behind the hose I put 2 leds (HDD and power). In the middle of the slice it has a screw with nut. At the end of this paraphernalia, there is a normal pressure button. when you push the wood slice, this will touch the pressure button and turns the PC on, later the spring makes the button return to the initial position. Reality looks better than this picture :) |
| |
 |
| |
|
| |
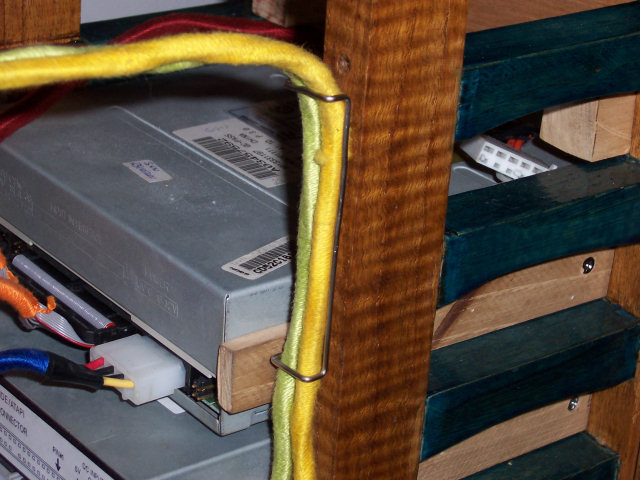
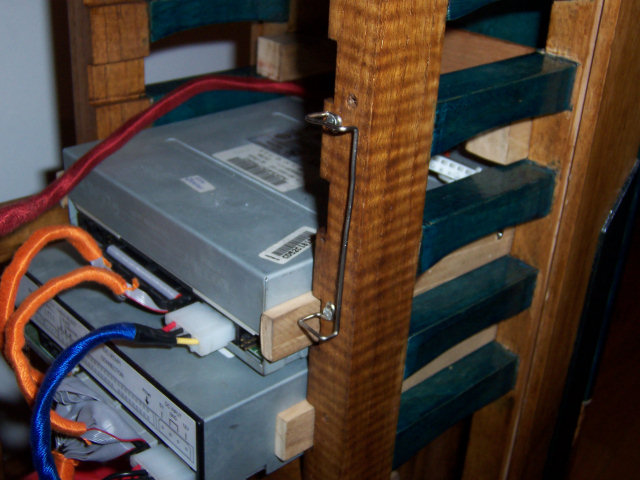
The following pictures show the holding cable system, since I used wood, basically I can put what I want where I want, since I get it held well. Using 2 tips pliers, I undid some clips and I bent them to do some cable supports. |
| |
|
| |
|
| |
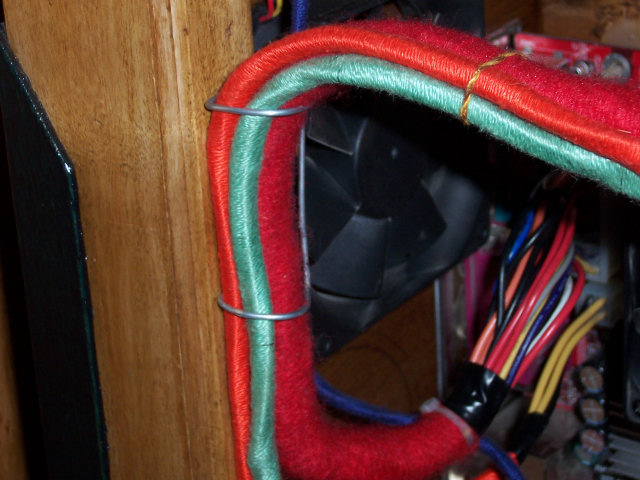
After having fastened the cables to the wood, it results in this, which i believe is quite nice and organized: |
| |
 |
| |
|
| |
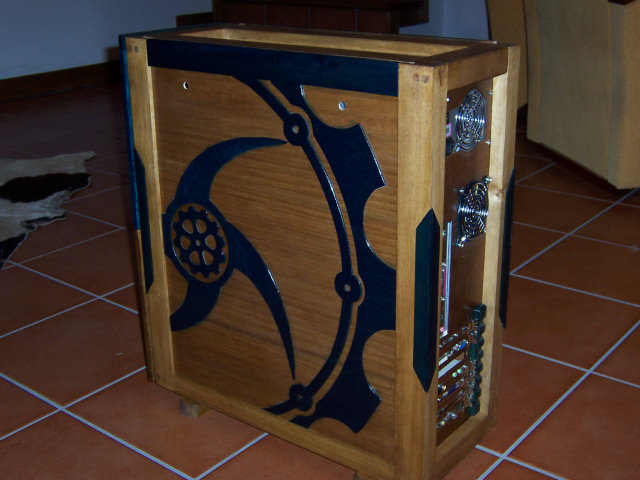
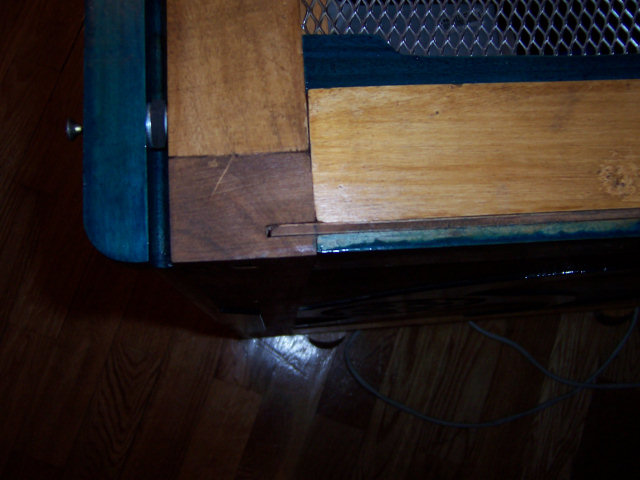
This is how the opening of the lateral panels works, is similar to the drives, they fit in some type of guide style like domino box or checkers board. The panels fit into the upper part of the box, then they slide down, where they'll lock together on another groove.
|
| |

|
| |
|
| |
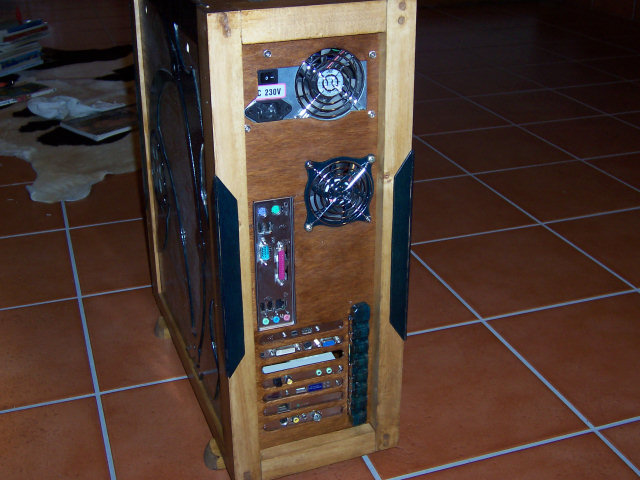
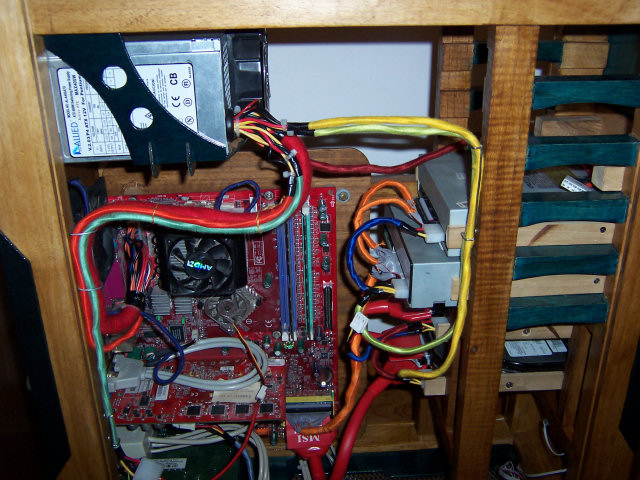
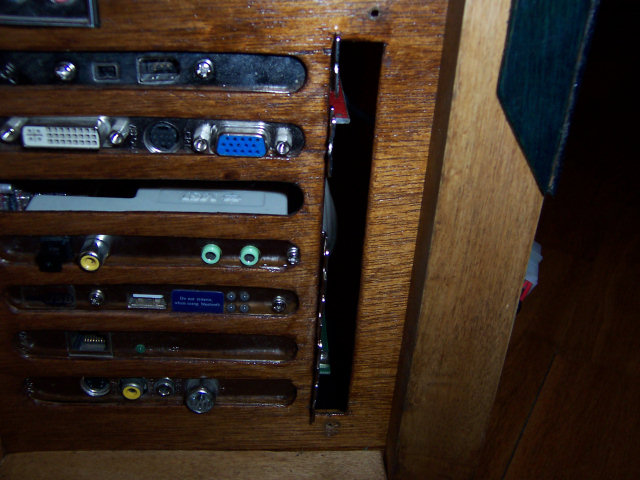
After a lot of requests, this is the way I fixed PCI/AGP. The system is not very good, but I couldn't come up with anything else. Using this system, the PCI/AGP boards are quite are quite tight and don't come out easily, but it is not very easy to change them. To explain this here is extremely complicated, see the pictures below: |
| |

|
| |
|
| |
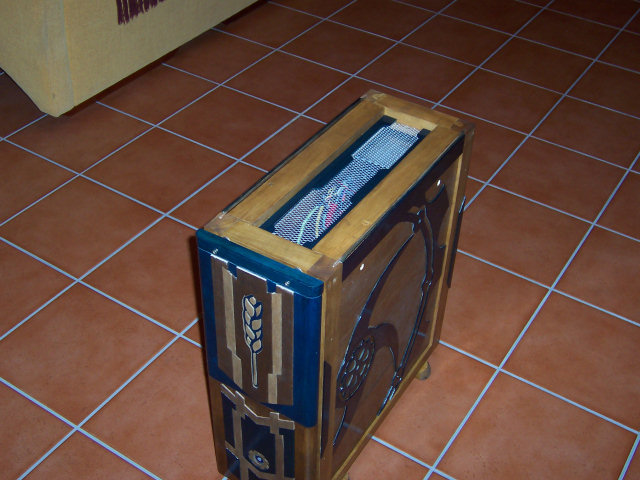
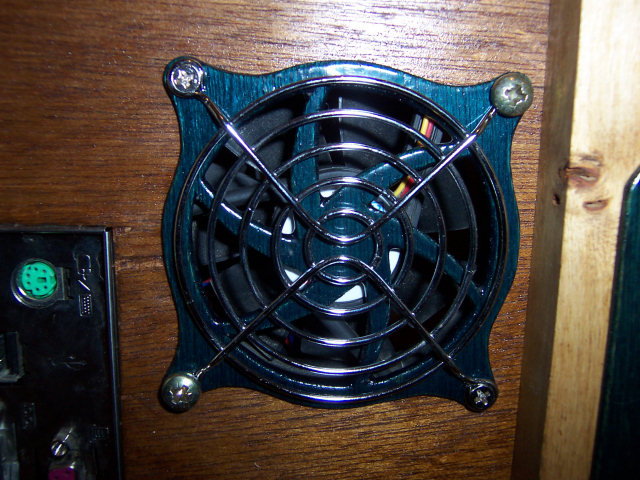
Here is my home made grid. It was not supposed to use this metallic grill but when I put it over mine to do the appropriate holes, I noticed that it looks even better. I think that this part has a small problem, the circulation of the air through the wood grid, does a lot more noise than without it! Now that I went through all the work of doing it, I'll just let it stay like this. |
| |
 |
| |
|